Step I: Getting Started
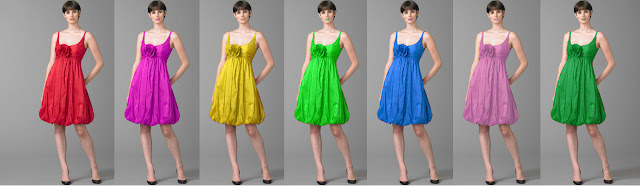
- Click on one of the sample images below to view it full screen
- Copy the image
- Open PhotoShop and create a New Document
- Paste the image


- Go to IMAGE > CANVAS SIZE
- Change "Inches" to "Percent"
- Change BOTH Width and Height to 200 [percent].
- Click the "Upper-Left" Arrow
- Click OK
- Click VIEW > FIT ON SCREEN
- Paste another copy of your picture
- Use the arrow to drag the picture to the upper-right corner
- Paste another copy of your picture
- Use the arrow to drag the picture to the lower-left corner
- Paste another copy of your picture
- Use the arrow to drag the picture to the lower-right corner.
Step III: Changing Colors
- Select the layer that you want to adjust (top-right, bottom-left, and bottom-right)
- Go to IMAGE > ADJUSTMENTS > REPLACE COLOR
- Use the Dropper tool to click on one of the bright colors
- Hold Shift and select other shades of that color
- Drag the "HUE" slider left or right to adjust the color
- Repeat steps 1-5 for the other two squares.

Step IV: Finishing
- Add your name to your image
- Save your image to ThawSpace as a PSD
- Save your image to ThawSpace again -- this time as a JPG
- Log in to your portfolio (Blogger) page
- Create a New Post and insert your JPG picture
- Write a quick summary of the project and what you did to get the look you came up with
No comments:
Post a Comment